At its core, authentication is a concept where an app gets permissions from you to show some or all of your content to end-users. Think of it this way: Google Photos deems everything private, accessible only via your own login. If you want users to see photos from your Google Photos albums on your website, you have to grant permissions to your website to see the photos hosted on Google Photos. So, your Google Photos account will have to authenticate your website, so that it is authorized to see the photos, and display them for your site’s visitors.
Note the following:
The concept of authentication is different from that of an API Key. An API Key is a key component of and required for Authentication, but you also need other items.
Not everything needs authentication. A large portion of Flickr and SmugMug is visible to any visitor, and hence these just need an API key. Zenfolio doesn’t even need that! On the other hand, everything for Google Photos needs full authentication.
When you are authenticating Photonic, you only granting it permissions to read your content, and not to write anything.
All the authentication details are only stored on your site. This includes API keys, API secrets and any type of token generated by the platform for authentication. Nothing is sent back to the developer of Photonic or anywhere else.
You may revoke authentication at any time directly from the platform.
Here is what you need to get started with authentication for each platform:
Flickr – You need an API key. The API key is needed for displaying any type of photo, not just private photos. For displaying private photos, you will need to perform the additional steps of authentication.
Google Photos – You need a strong heart!! Joking aside, this is a very stupefying and labyrinthine process. Head over here for a step-by-step walkthrough.
SmugMug – If you are not sharing private content via your website, you don’t need to do anything. If you would like to show private content, set up an API key.
Zenfolio – If you are not sharing private content via your website, you don’t need to do anything. If you would like to show private content, you need to authenticate via your password.
Once you have completed the prerequisites, you will need to head over to the actual authentication steps. Remember: you don’t always need authentication.
Certain platforms such as Google put up extreme barriers around photos, causing everything to require authentication. Google went from an open model that was present in PicasaWeb to a stupefying and labyrinthine way to set up authentication of users. So, while Photonic tries to simplify things to the extent possible, Google authentication still ends up being much harder than any other platform.
In the following steps, you do the authentication (not your site’s visitors), and your visitors see what you are authorized to see (instead of what your visitors are authorized to see).
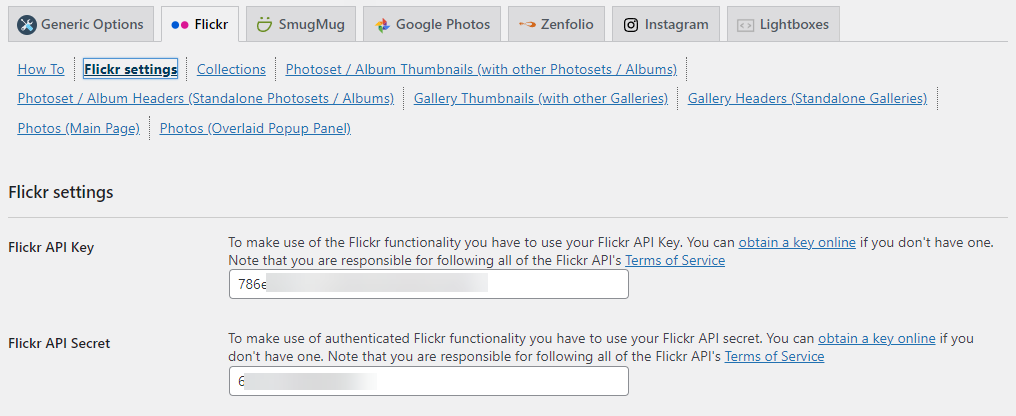
First, update the API Key / API secret for the platform in its respective settings screen, typically Photonic → Settings → «Platform Name» → «Platform Name» Settings: The API Key and Secret are mandatory for authentication. You will fill in the details that you obtained from the Prerequisites.
You will see these additional fields in the settings page for the platform, which are blank by default. These need to be updated only if you plan to display private content: A token and a secret are required
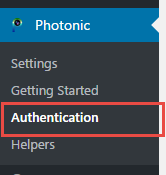
Following the instructions, head over to Photonic → Authentication.
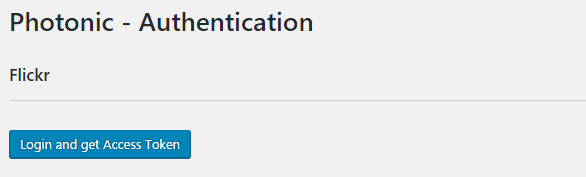
For the platform that needs the authentication, click on the button to “Login and get Access Token”. Login and get token
You will be taken to the platform’s page for authentication:The provider will ask you to authorize your application
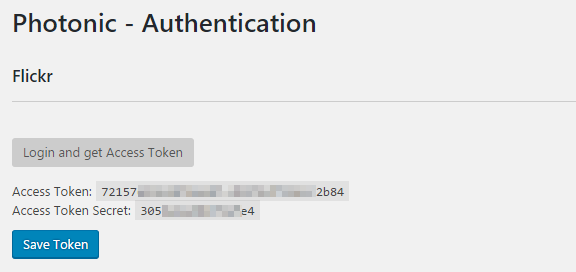
Once you authorize, you will be brought back to your authentication page (Photonic → Authentication), but this time with the token and the secret:Your token and secret are shown upon authorization
Upon clicking “Save Token” the token and secret will be saved to the respective options page, and you will be taken there. Note that both, the token and the secret are required for Flickr and SmugMug.
You are now all set to display private photos to all your visitors.
Token expiration is dependent on the provider:
Flickr, SmugMug and 500px use OAuth 1.0 for authentication and OAuth 1.0 tokens don’t automatically expire. This is documented explicitly for SmugMug and in various groups for Flickr.
Google’s approach is interesting – it issues you with a “Refresh token”, which you exchange for an “Access token”. The refresh tokens never expire, but the access tokens expire every 30 minutes or so. To take the sting out of reentering the access token every time, Photonic stores the refresh token and automatically pulls the access token for you if it has expired.