Photonic started out as a shortcode-based plugin. While the basis of the plugin has always been the tweaking of a shortcode, it can get challenging to remember all the different parameters of the shortcode. So Photonic offers you multiple ways out.
Contents (🔗)
Prerequisites (🔗)
Photonic supports multiple sources for photos, but most of them have some prerequisites:
- WordPress – no prerequisites; proceed to the next section
- Flickr
- SmugMug
- Google Photos
- Client ID required – first, obtain the client ID as per the instructions
- Authentication required – see here for instructions
- Zenfolio – no prerequisites; proceed to the next section
How to Start Creating / Editing (🔗)
Classic Mode, without Gutenberg / Block Editor (🔗)
If you are still on a WP version < 5.0, you must upgrade! But that apart, you will not have been exposed to Gutenberg a.k.a. the Block Editor. Alternatively, you might be on the most current version, but may be using a plugin like Disable Gutenberg or Classic Editor. In either case, if you are sticking to the traditional mode of editing, you get to see this at the top of each post or page:
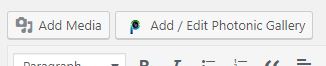
The first button launches the traditional vanilla “Add Media” dialog, with an option for Photonic. The second button launches a Photonic-specific Gallery Wizard.
Gutenberg / Block Editor (🔗)
Gutenberg is the codename for WordPress’ current default editing experience (since version 5.0). It dispenses with traditional constructs such as shortcodes and introduces “blocks”.
Photonic supports Gutenberg, and introduces a Photonic Block for it. See here for additional details about Gutenberg support.
When you click on the button to add a new block you are shown one for Photonic:
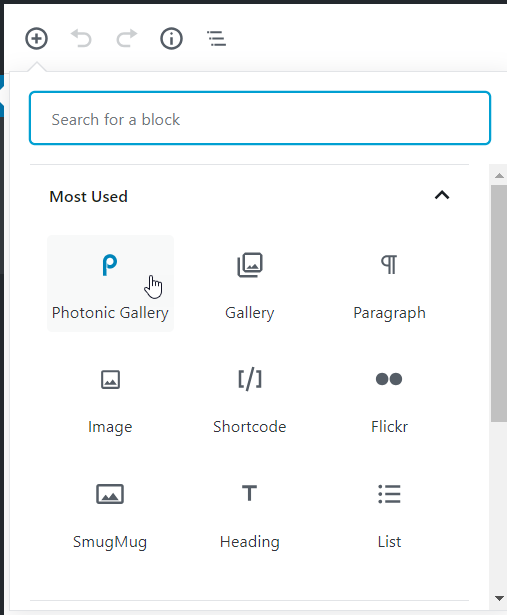
Once you pick the block you will be taken to the Gallery Wizard.
Within Widgets (🔗)
There are two ways to use Photonic in widgets:
- Enter a shortcode into a text widget by going into the “Text” mode for the widget. Obviously you have to construct the shortcode by hand in this mode:
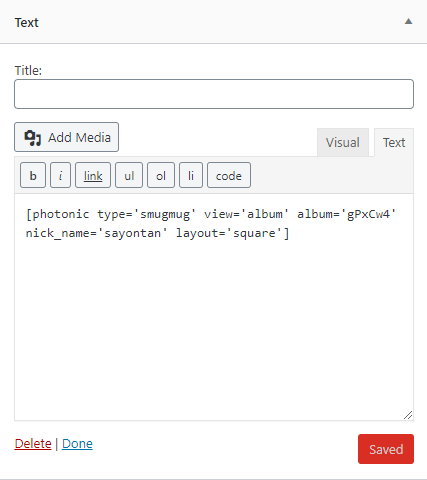
Shortcode in a Text Widget – no bells or whistles; shortcode is entered by hand. - Use the built-in Photonic widget to build out your shortcode. Clicking on the Photonic icon launches the Gallery Wizard for you to build the shortcode:
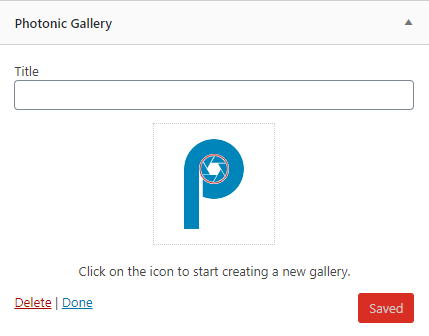
The Photonic widget facilitates the creation of a gallery shortcode using the wizard
Within Page Builders (🔗)
While no specific module has been built for common page builders, you can use the Photonic Widget in Elementor or Beaver Builder.
- Elementor
To use Photonic in Elementor, search for the “Photonic Gallery” widget: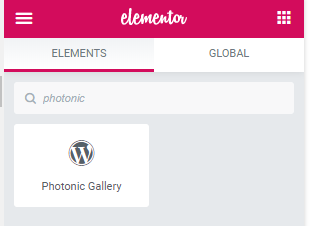
The Photonic Gallery widget appears in the WordPress Widgets section Once you have found it, drag it to the area of your choice. It will open up the widget in the “Elements” window, and you can use the Gallery Wizard from that point:
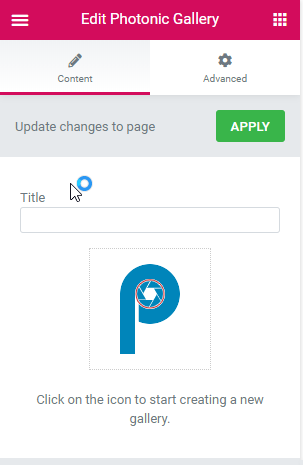
The WP widget lets you use the full capabilities of Photonic in Elementor - Beaver Builder
Similar to Elementor, the WordPress widget can be used for Beaver Builder: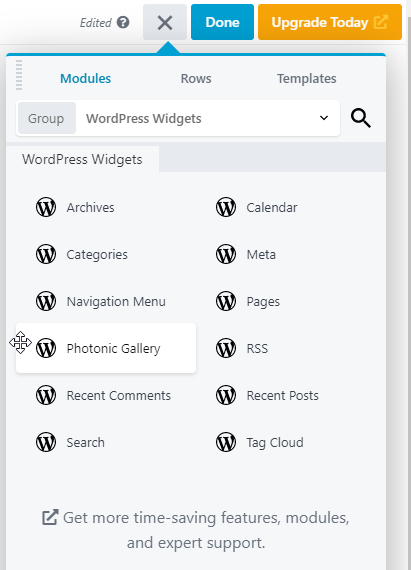
The WordPress widget can be used to create a gallery in Beaver Once you have found it, drag it to the area of your choice. You will then see the widget to help you start the Gallery Wizard:
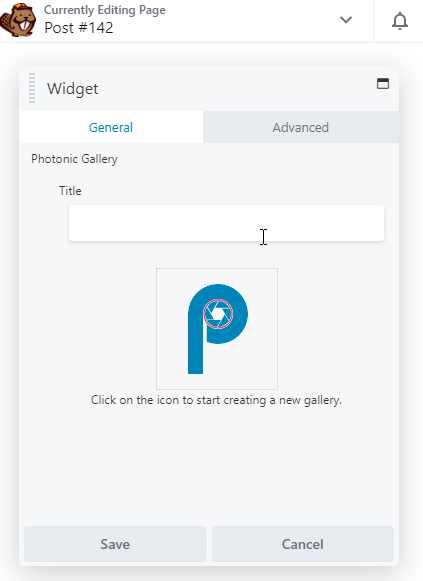
Click on the Photonic logo to launch the wizard
Compatibility for Divi’s page builder has not been built, and compatibility with other page builders has not been tested. But with Elementor, Beaver and Gutenberg about 70% of the page builder market should be covered.
Inside the Editor (🔗)
Gallery Wizard (🔗)
Photonic features a powerful, interactive Gallery Wizard. The Wizard is launched in the following situations:
- If you click on the “Add / Edit Photonic Gallery” button in the Classic mode, both within the Text Editor and the Visual Editor.
- If you click on a Photonic Block within Gutenberg (i.e. the Block Editor).
- If you use a Photonic Widget as a standard WordPress widget.
- If you use a Photonic Widget within Elementor or Beaver Builder.
The wizard offers a step-by-step, contextual approach towards constructing your galleries.
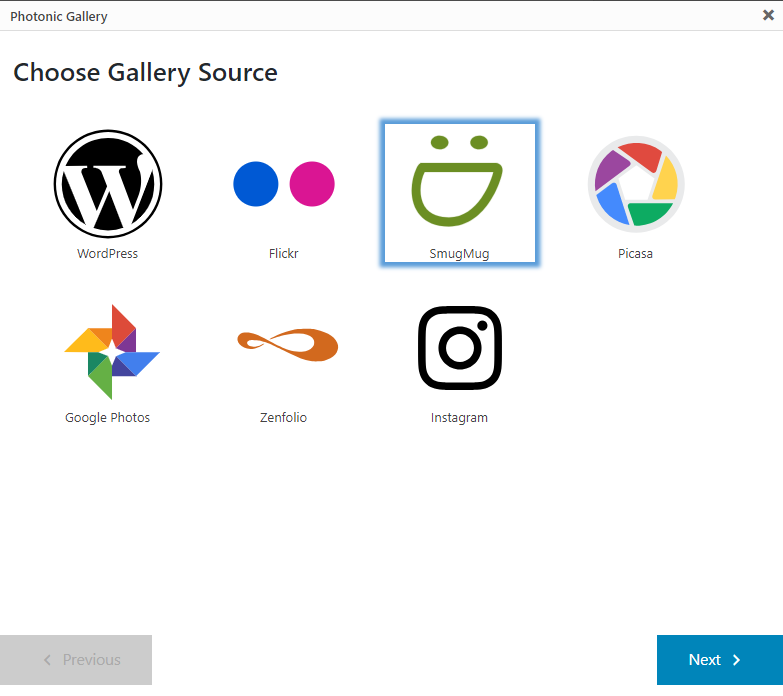
Screen 1: Pick a Platform (🔗)
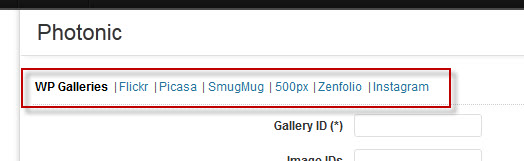
Once you launch the wizard, the first screen lets you pick a platform.
Note:
- To use any platform, make sure that you have met the prerequisites for that platform.
- To edit a gallery instead of creating one:
- In the Text Mode of the Classic Editor, select the shortcode text before clicking the button.
- In the Visual Mode of the Classic Editor, as well as in all other scenarios (Gutenberg, page builders etc.), simply click on an existing Photonic gallery.
Screen 2: Choose the Type of Gallery for the Platform (🔗)
Not all platforms are built equal! So, what you see on the second screen is very specific to the platform you have picked. Just to highlight some differences:
- Flickr has Level 1 elements (Photos), 2 types of Level 2 elements (Photosets / Albums and Galleries, which are sets of Photos), and Level 3 elements (Collections, which are sets of Albums and other Collections).
- Google Photos has Level 1 elements (Photos) and Level 2 elements (Albums, which are sets of Photos).
- SmugMug has Level 1 elements (Photos), Level 2 elements (Albums, which are sets of Photos), and Level 3 elements (Folders, which are sets of Albums and other Folders).
- Zenfolio has Level 1 elements (Photos), 2 types of Level 2 elements (Photosets and Collections, which are sets of Photos), and Level 3 elements (Groups, which are sets of Photosets and other Groups)
Photonic endeavours to keep the terminology consistent with the respective platform, e.g. what Flickr originally called Photosets are now called Albums, so both terms are specified.
Some notes:
- This screen is bypassed if your platform is WordPress – you are directly taken to the native WordPress gallery editor dialog.
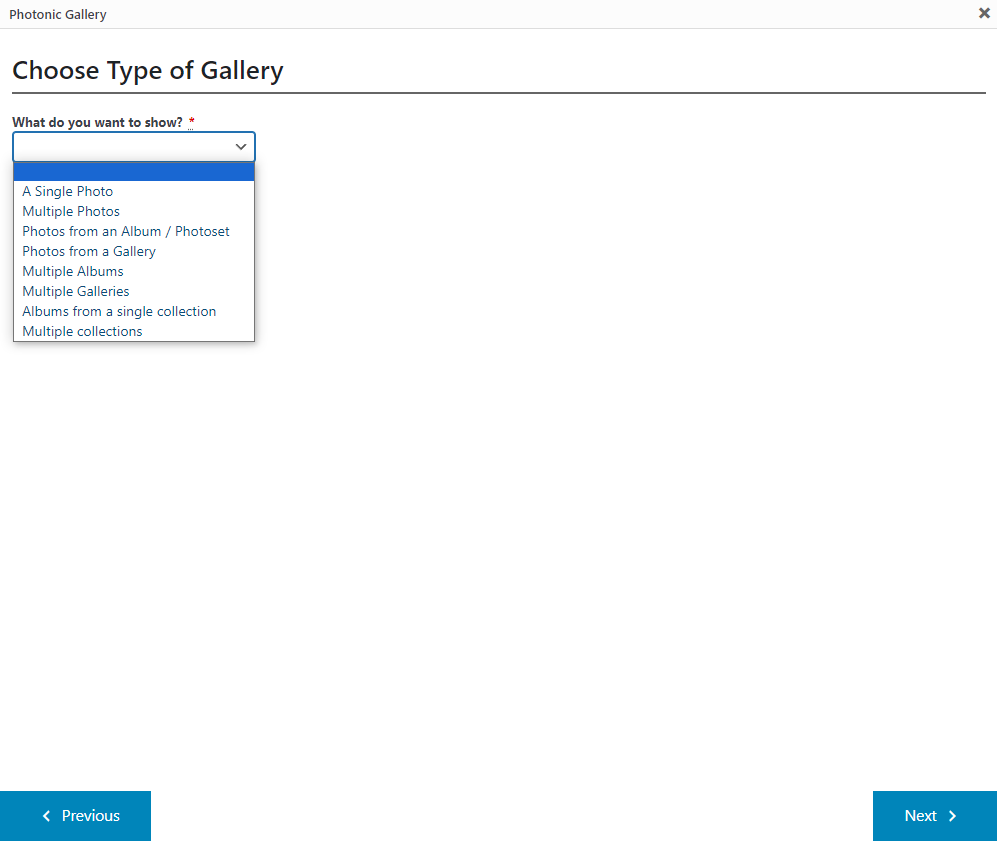
As you select a specific option, additional options are shown in the screen to help you proceed further.
Screen 3: Choose Specific Content for the Platform (🔗)
The third screen lets you pick specific content, such as photos, albums or folders. This is dependent on the previous 2 screens. If you are editing an existing gallery, your existing selections are pre-selected.
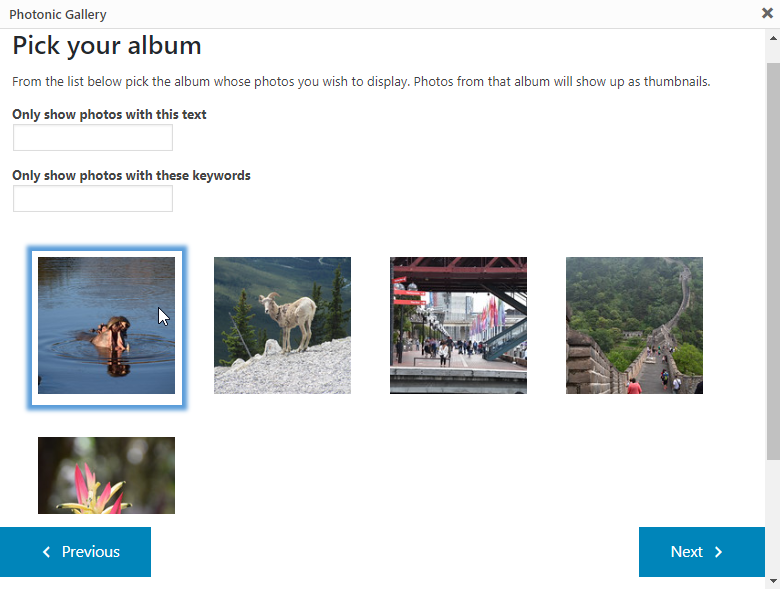
The options on this screen are context-sensitive. E.g., if you want to show a group of albums, you will be able to select specific albums to include or exclude. Similarly, if the platform allows filtering the selections based on keywords etc., those are presented as well.
Some notes:
- For Albums in Google Photos, your selections may lie beyond the first page of 50 albums. You will need to use the “Load More” button to see them.
- This screen is bypassed if your platform is WordPress – you are directly taken to the native WordPress gallery editor dialog.
Screen 4: Pick Your Layout (🔗)
Once you have gotten your content identified, the next step is to determine how you want it displayed. Photonic offers a large variety of layouts.
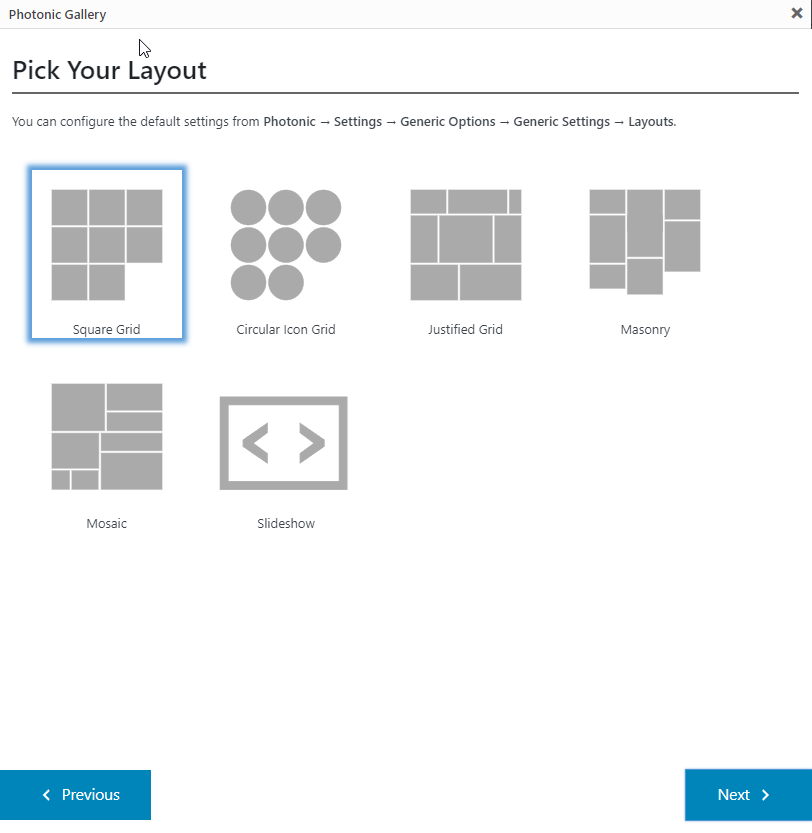
As with the other screens, the options are context-sensitive. E.g. the slideshow option only shows up for Photos, and not for Albums / Photosets / Collections / Folders etc.
Screen 5: Configure Your Layout (🔗)
In this step, you can configure various aspects of your layout. This could include things like:
- Whether you want to show a “More” button (useful when you have many items but are showing a small number by default).
- The number of items you are showing.
- The positioning of the title of each of the elements.
- In case of albums, how you are displaying the constituent photos (i.e. in a modal overlay, or directly in a lightbox, or on a separate page).
- The size of the images to use in the thumbnails or tiles.
- Gallery optimization options; see here for more information.
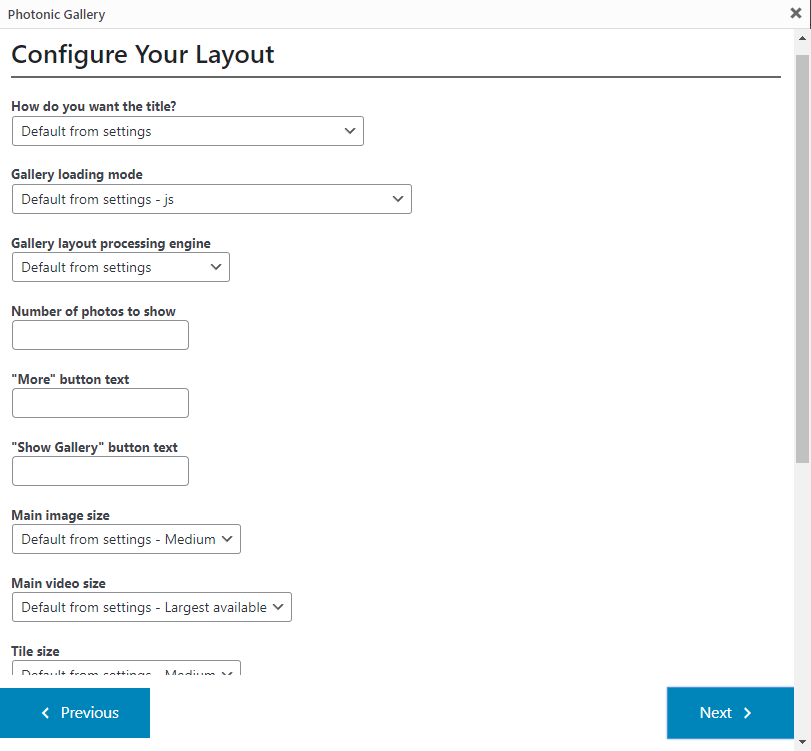
As with the other screens, the options are context-sensitive. E.g. if you are displaying a set of albums, you will see options for controlling the behaviour when an album thumbnail is clicked.
Screen 6: Review Your Shortcode / Block (🔗)
The last screen shows you the shortcode that has been constructed. Note that this is not the actual gallery, rather it is a representation of the gallery. This is what Photonic uses when your page is loaded to generate the contents. If you are using Gutenberg, what is shown here is the content of a block instead of the shortcode.
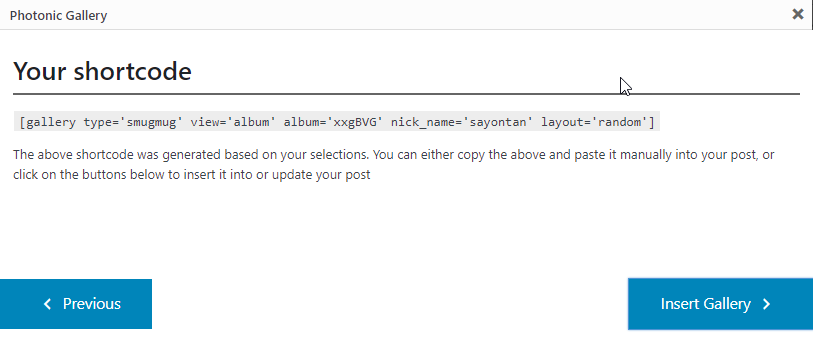
In rare cases, you may encounter an issue when you click on “Insert Gallery” – nothing might be happening as a result of the click. This can occur when there is a conflict in the JavaScript between Photonic and another plugin on your site, or with the JS of your theme. In such cases, simply copy the displayed shortcode, and paste it out to your post.
Vanilla Editor (🔗)
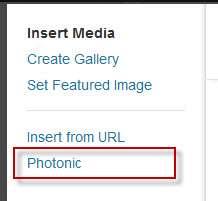
If you click on the “Add Media” button (in the Classic Mode), you are shown the traditional gallery interface with an additional tab for “Photonic”: